Step by Step
- I (Victoria) draws the shape I wish to have made into wood using Procreate on my lovely husbands iPad. Sometimes I will make a sketch on paper first and then trace it digitally. With the hearts though, I drew them straight onto Procreate as it was nice and easy to make this basic shape.
- I then send then the digital image to a lovely lady who laser cuts them into amazing high quality wood for me. All of the suppliers I use for all of my products are based within the United Kingdom. Where I can, I always try and use local supplies to meaning that everything is not only made in Stoke-on-Trent by me, but the supplies are from Staffordshire too.
- When I receive the wooden pieces from the lovely lady who laser cuts them for me, they then go through a thorough quality check to ensure each piece is perfect. Sometimes, during the laser cut process pieces can be scorched so I do a quality check to ensure that I only use pieces that are perfect. This not only makes it easier for me to add the paint and resin, but makes a more beautiful hand made product for you.
- I then use acrylic paint to paint on a base coat of the colour I want to make. I currently have red, blue, turquoise, pink, purple and green available in glitter heart stud earrings.
- I then meticulously add the glitter on top. This is the longest process and I wish it was as quick as I show in the video! As the glitter paint is held together with clear liquid paint, I try to make each piece as full of glitter as possible by dabbing the paint on and then pushing it into place. This is definitely time consuming but makes the gorgeous sparkly finish you see on the hearts.
- Once painted, they are then left to dry for approximately 12 hours. I tend to leave it until the next day so I can work on them again when I’m free.
- They then receive their top layer of resin to give that glossing protective coating. Putting a resin coating on top adds shine, protects them and also makes them really easy to keep clean when they are kept at their new home.
- The stainless steel posts are also attached to the back and then left to dry for 24 hours to ensure they are secure.
- Voila! That was how to make glitter heart stud earrings. The glitter heart stud earrings are made and ready to send to their new home. Every time I send some earrings, I send a care card too so their new owners now exactly how to look after them.
How To Purchase Glitter Heart Stud Earrings From Wear It Quirky
Now you’ve seen how to make glitter heart stud earrings, you might be interested in purchasing a pair of your own.
You can purchase glitter heart stud earrings from the website here.
They are available in red, blue, turquoise, pink, purple and green. They are also available in two difference sizes: 1cm diameter and 2cm diameter. The 1cm diameter pieces are just big enough to cover your lobe, the 2cm diameter studs will hang slightly beneath your lobe. The studs I use for all of my pieces are hypoallergenic.
Where To See More Behind The Scenes
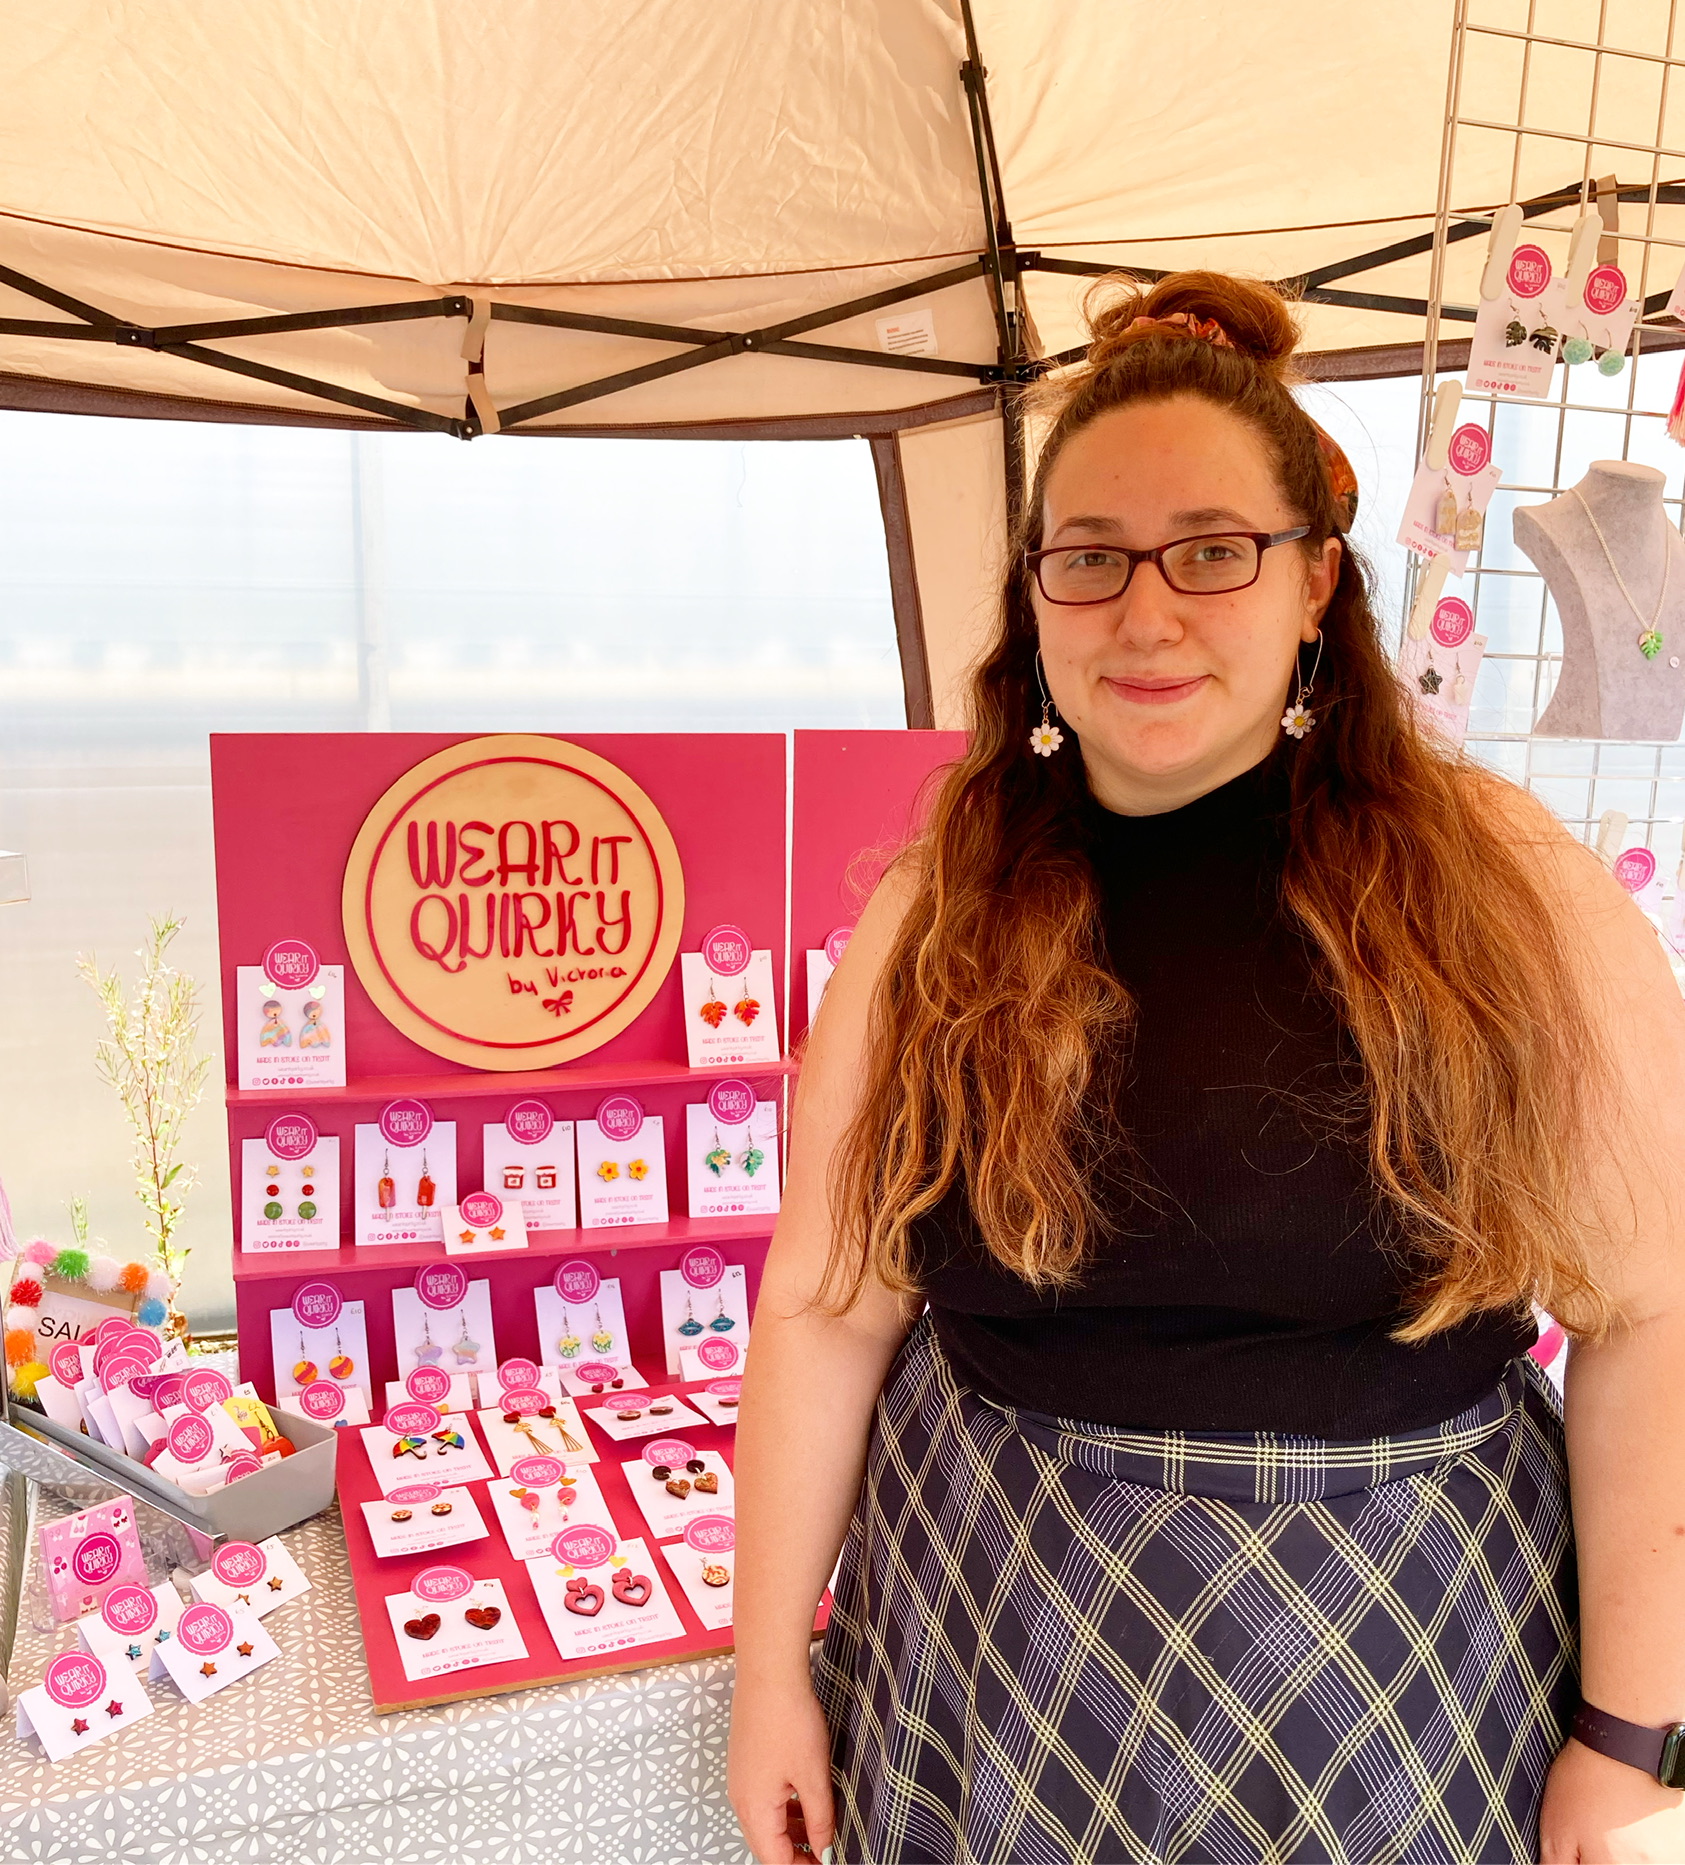
by victoria
Victoria is me, the founder and creator of all things Wear It Quirky! Anything quirky, I love and I write in this blog to share my experiences during the running of my small business.